Category: Version 10
-
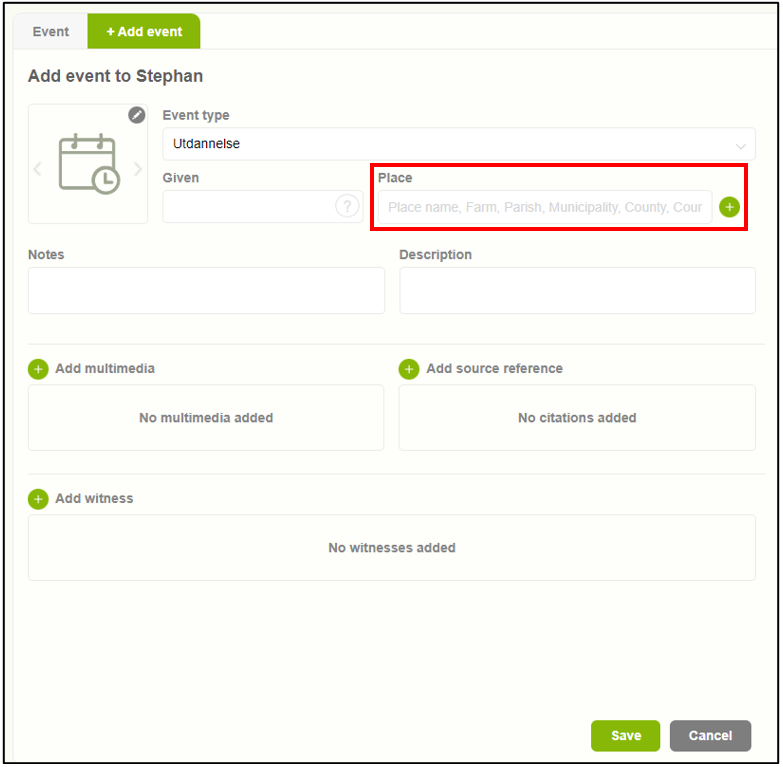
Add an event location
1. Users can add an event location by selecting the “Add place” button (+). 2. Upon clicking on the “Add place” button, a pop-up window will appear featuring two tabs. The first tab allows users to choose from existing locations. 3. The second tab enables users to add a new location.
-
Add events
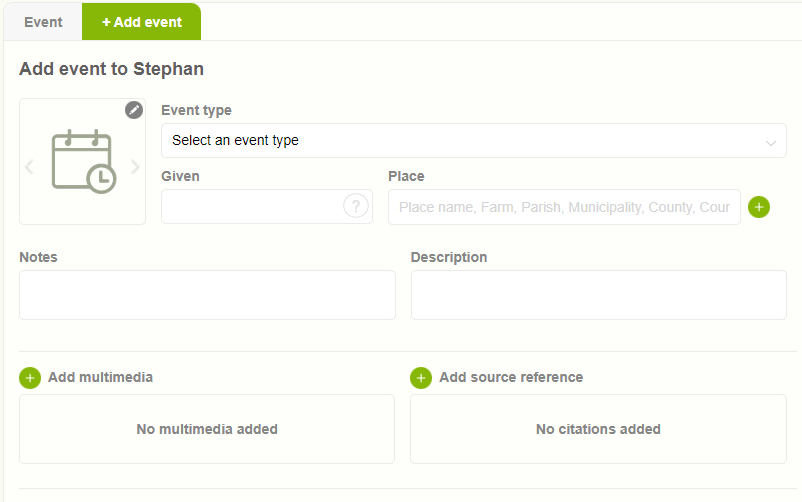
1. Users can add an event by accessing the “Add Event” tab. 2. Users are presented with a list of different events from which they can select their desired option. 3. Users can then input the event date and location. 4. Users can add notes and descriptions about the event. 5. Additionally, they can include…
-
Add a source to an event
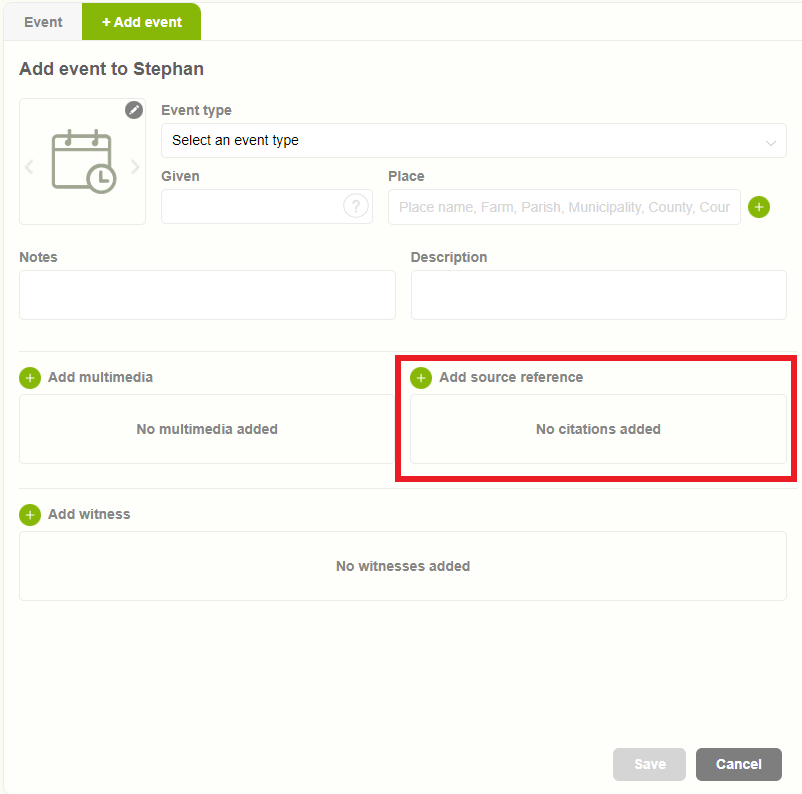
1. Users have the option to add proof or reference for an event utilizing the “sources” feature. 2. Upon clicking on “sources,” a pop-up window will appear with two tabs. The first tab displays the available sources. 3. The second tab provides the option to “Add New Source” for the event. 4. Following the addition…
-
Navigate to ‘Member editor’
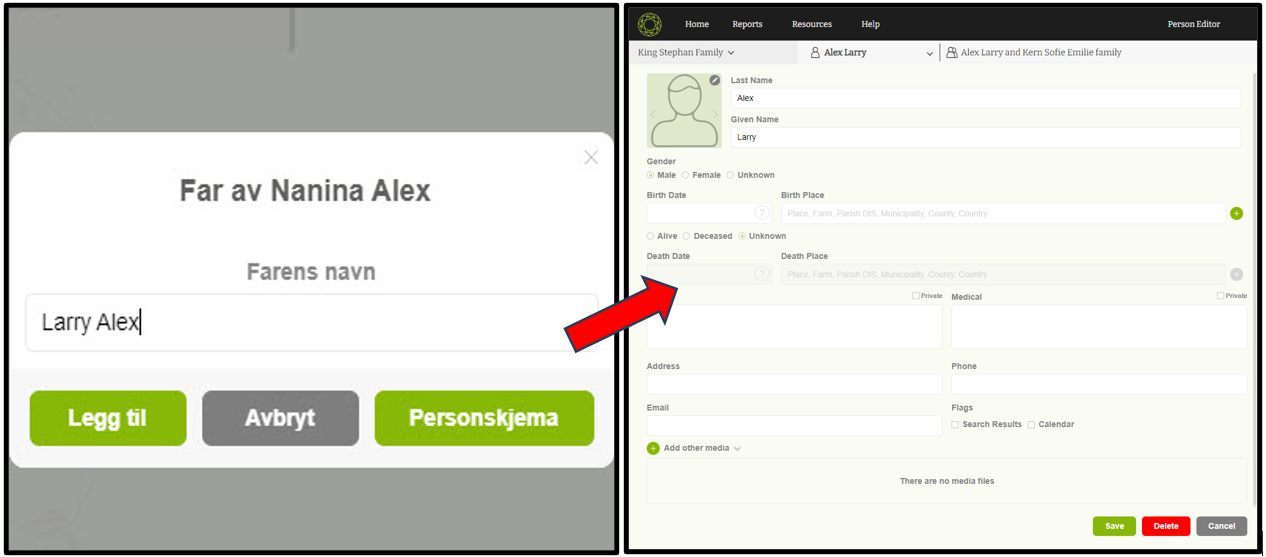
01) When the user clicks on one of the parent nodes, a popup will appear to add the parents’ first and last names. As the user starts typing a name, the ‘Save’ and ‘Member editor’ buttons will become enabled 02) Click on the “Member editor” button. 03) Then the user will be navigating to…
-
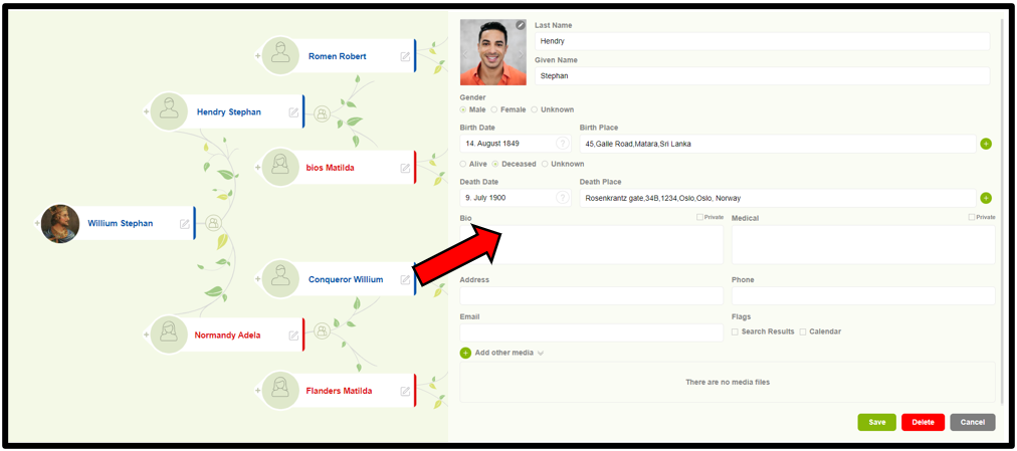
Edit a member details
01) Members can edit a member’s details by clicking on the “Edit” icon (pencil) in the nodes. Once the edit icon is clicked, the “Member editor” page of the respective person will be displayed 02) Users are now able to update the member details and save.
-
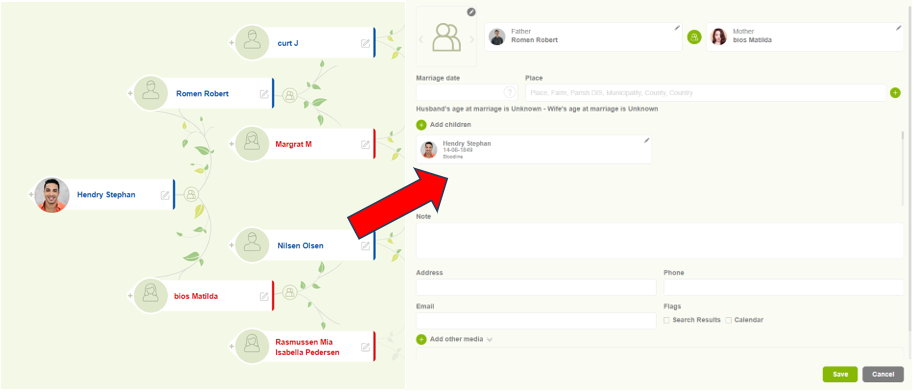
Navigate to Family editor
01) Users can navigate to the ‘Family editor’ by clicking on the “family” icon against each person in the tree editor. Here, the user can view his parent’s family. 02) When clicking on the family icon, the user will be navigated to his parent family editor view, as shown below.
-
Change the root person
Change the root person through parent nodes Users can change the root person by clicking on the name in a node. Change the root person through “Side-panel” Click on the name from the side panel. Change the root person through “Search” Search for the member that the user wants to make as the root…
-

Add spouse, children, and siblings
01) Users are able to add spouses, children, and siblings by clicking on the ‘ + ‘ button in each node. 02) Once the user clicks on the ‘+’ icon, it will display a panel with Spouse, Son, Daughter, Brother and Sister options 03) When clicking on each section, a ‘Quick add’ prompt will open,…
-
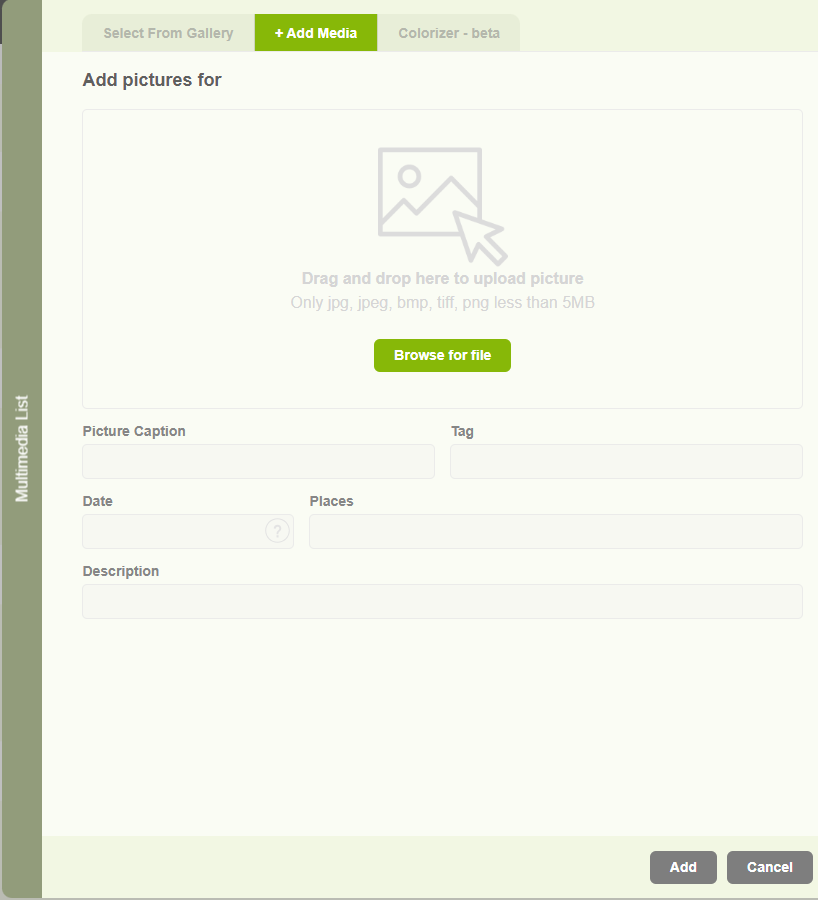
Add a profile image to a member
Clicking on the dummy image. The multimedia popup will be coming up. Add an existing image 01) Users can select an existing image from the media gallery. 02) Then click the ‘Add’ button to add the selected image to the member. Upload a new image 01) If the user wants to upload a new image,…
-
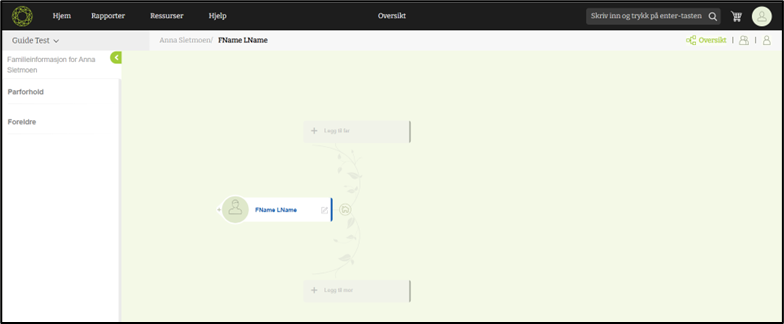
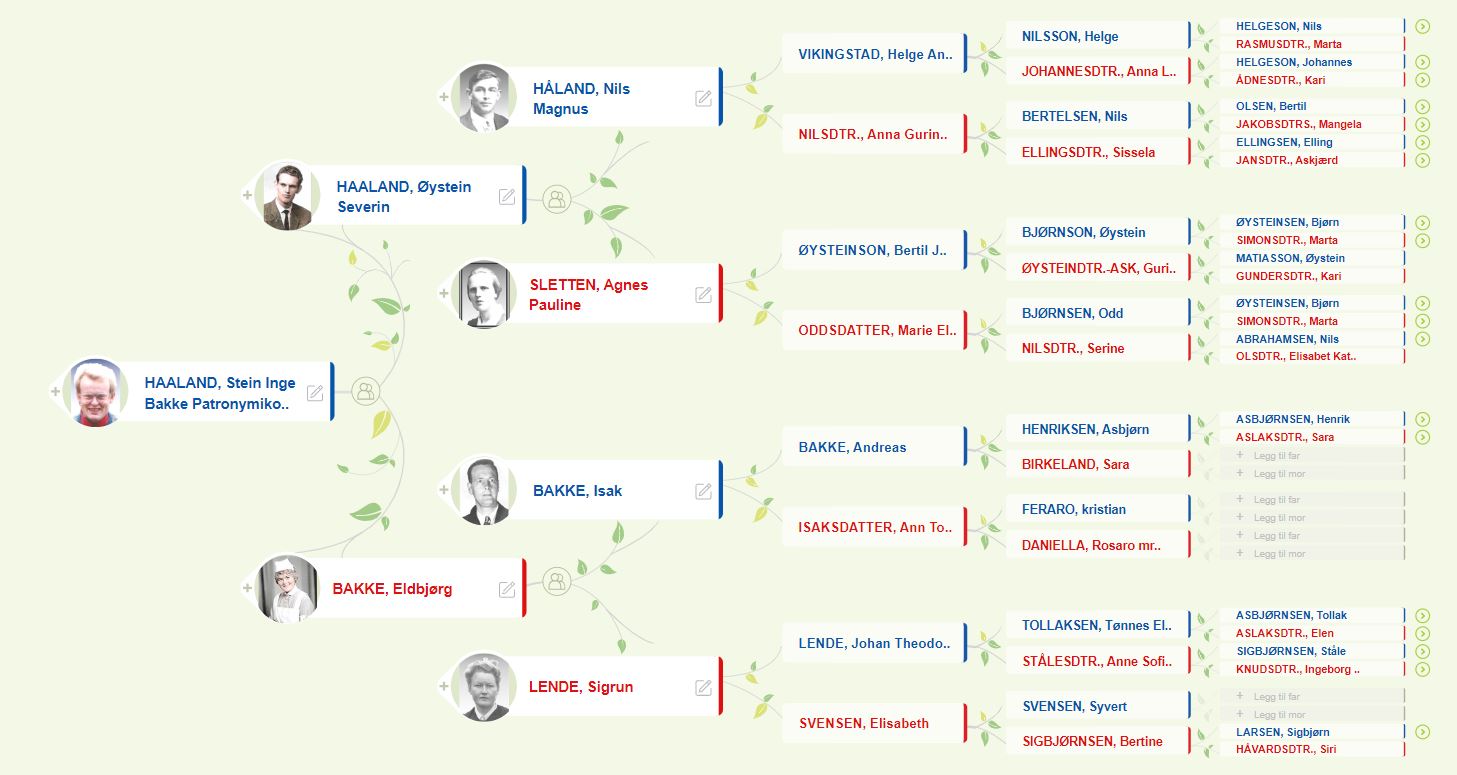
Tree editor overview
When a user navigates to the “Tree Editor” view for the first time, The user can see the first node of the family with the initially added person (Root person) Users can add ancestors The left side panel will display the immediate family details ( Married family and the Parent’s family) In the upper right…
-

Timeline report
The Timeline report showcases various life events alongside the years pertinent to the selected root member Presented in a vertical format, the report delineates personal and family events distinctly through the utilization of different icons and colours Personal events Family events Each event box contains the event title, location, year, description, and any accompanying images…
-
Sun chart
The Sun chart is a report which displays the ancestors in a circular report. Users can navigate to sun chart by clicking on “sun chart” option in the report menu
-
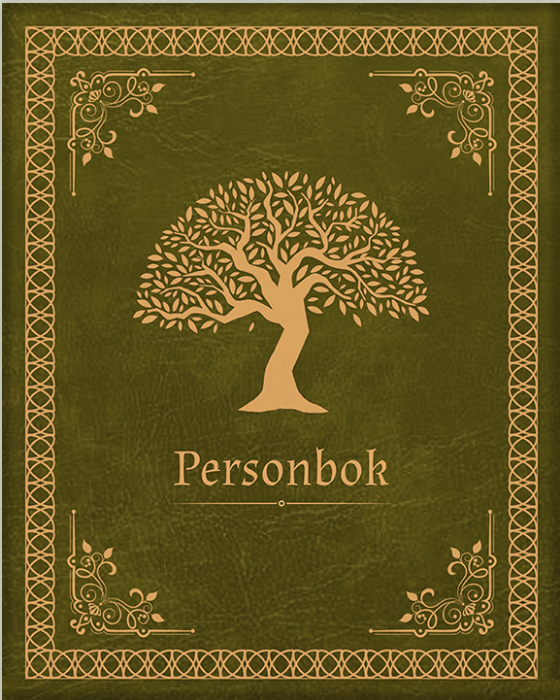
Person book
01) The Person Book presents all members within a family tree. It functions as a flip book, allowing users to flip through the pages and access information about each member of their family tree. 02) It will display the relationship of each individual with the root person, their names, date of birth, age, birthplace, and…
-
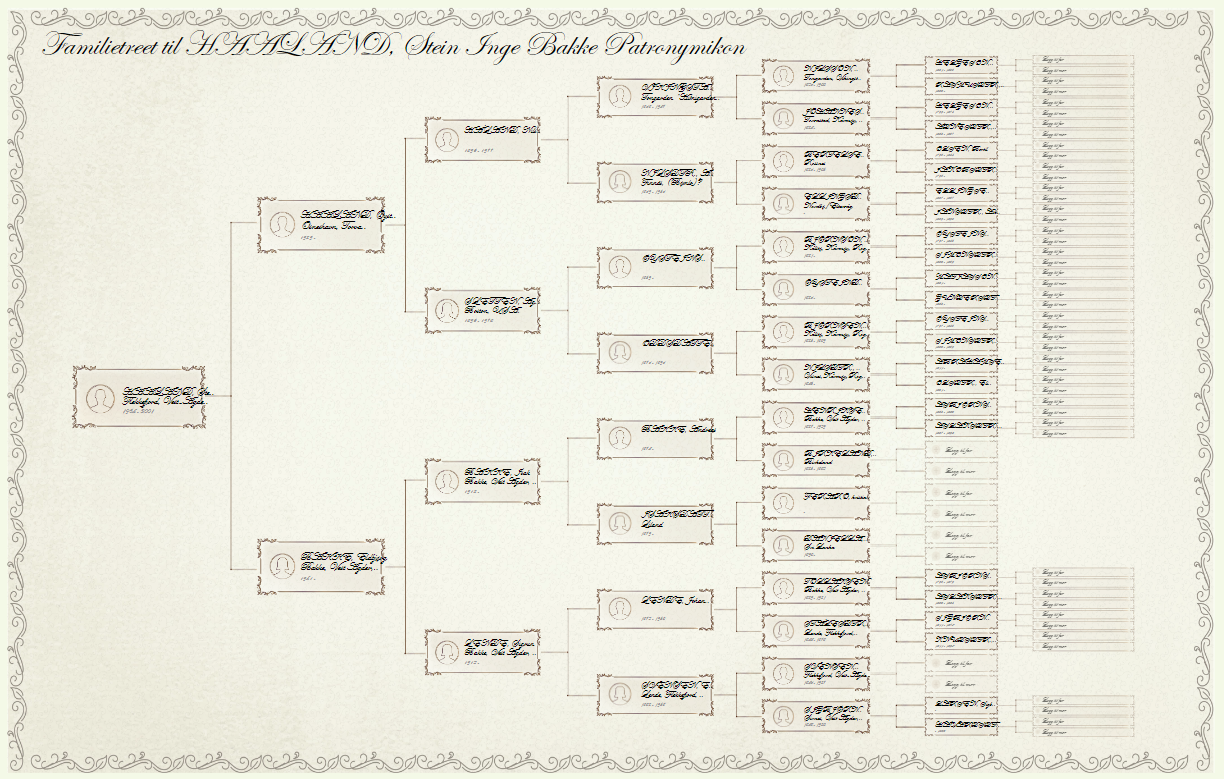
Pedigree chart
The Pedigree Chart is a graphical representation of the ancestors of the root person. It serves as a map of a family’s ancestral heritage across multiple generations. Users can access the Pedigree Chart by selecting the “Pedigree Chart” option from the reports menu
-
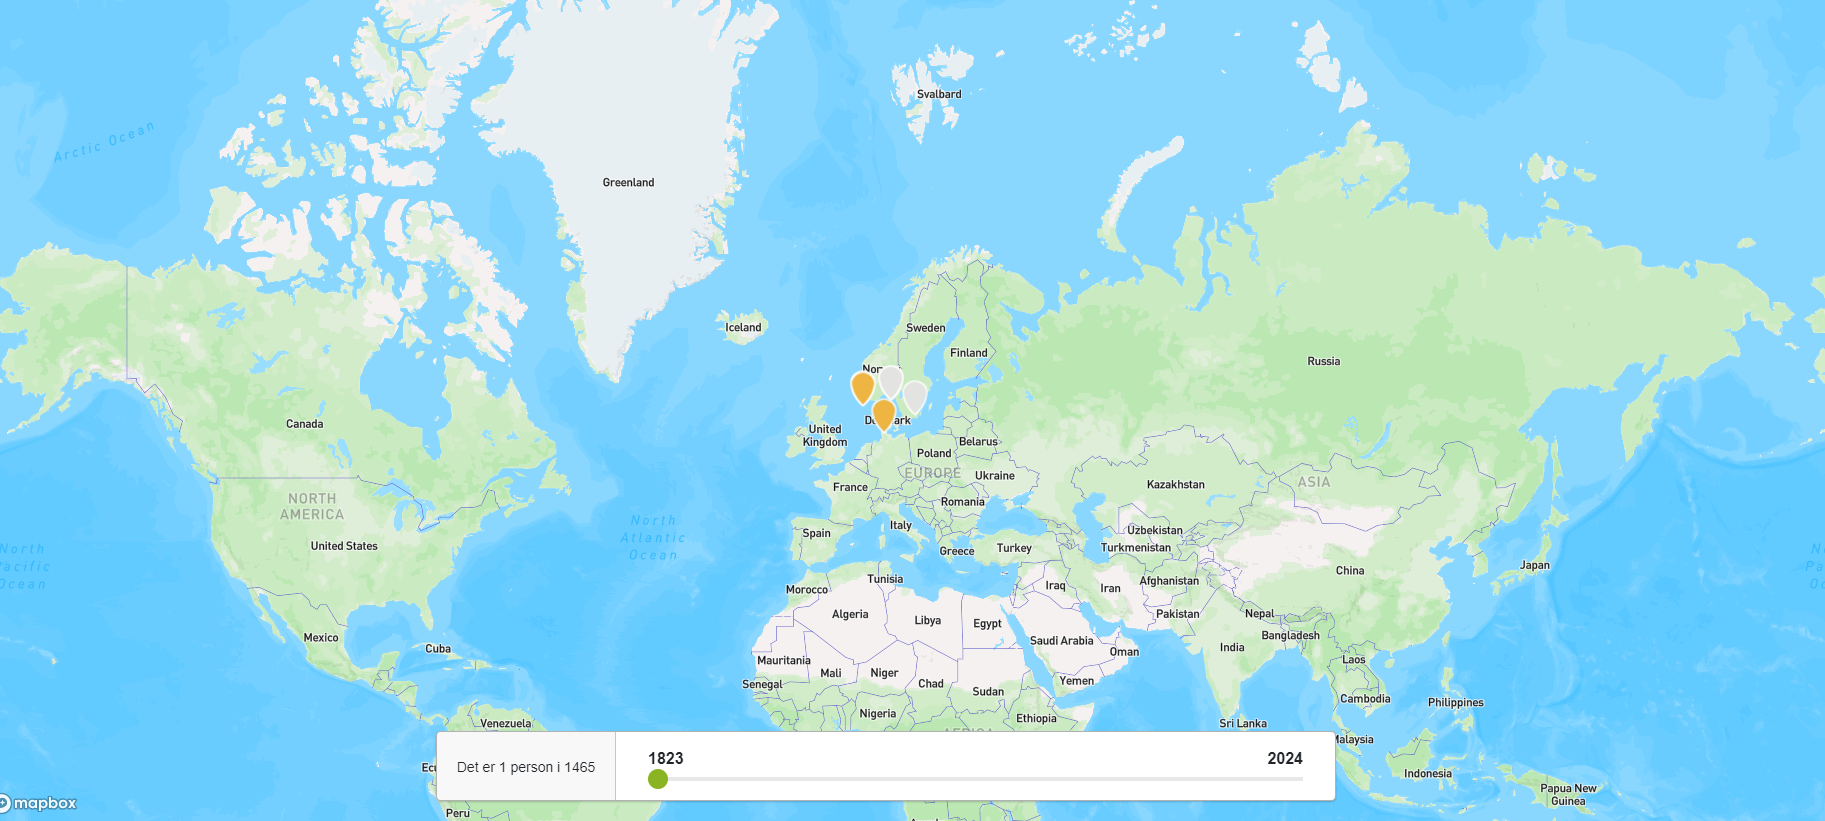
Map Report
The interactive map report provides users with a dynamic visual representation of the global distribution of family members within a family tree. By utilizing different coloured pins, each representing a specific gender, users can gain valuable insights into their ancestors’ geographical spread across various regions. Blue pins denote males, red pins signify females, while orange…
-
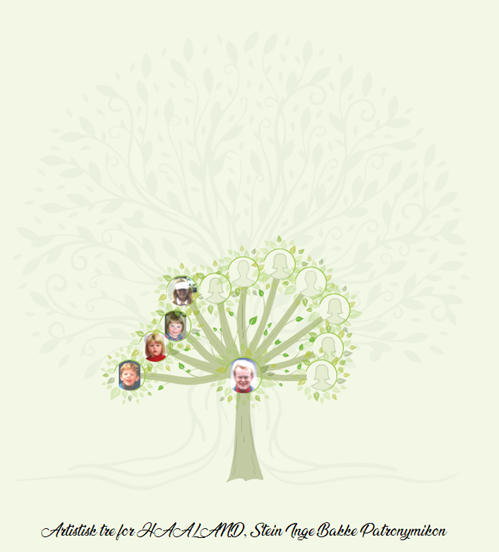
Artistic tree
The Artistic Tree visually presents the descendants of the root person. Each node represents a descendant, interconnected by branches
-
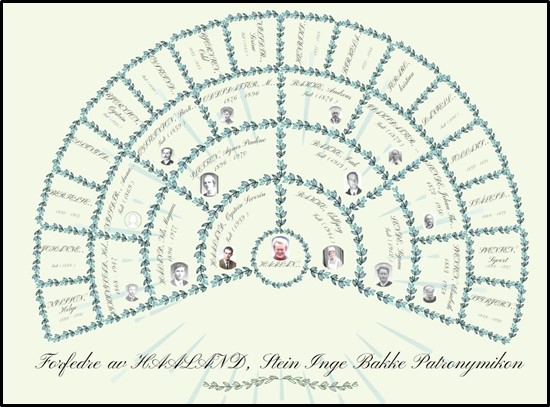
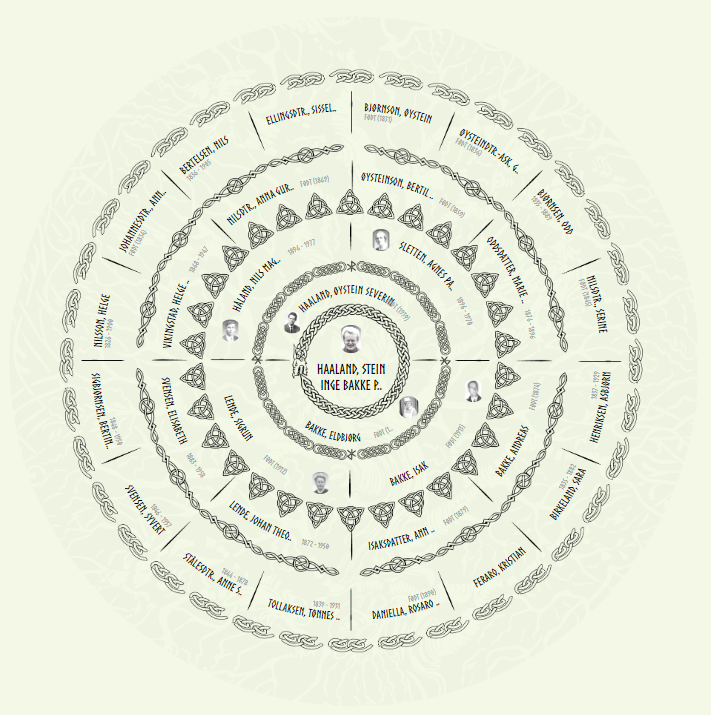
Fan chart (leaves)
01) The Fan Chart report is rendered artistically, akin to the traditional fan chart layout. Similar to the standard ‘fan chart’ report, this variant showcases the ancestors of the root person. 02) Users can access the fan chart by selecting the ‘Anesikel (blader)’ option from the report’s menu 03) The name of the root member…
-
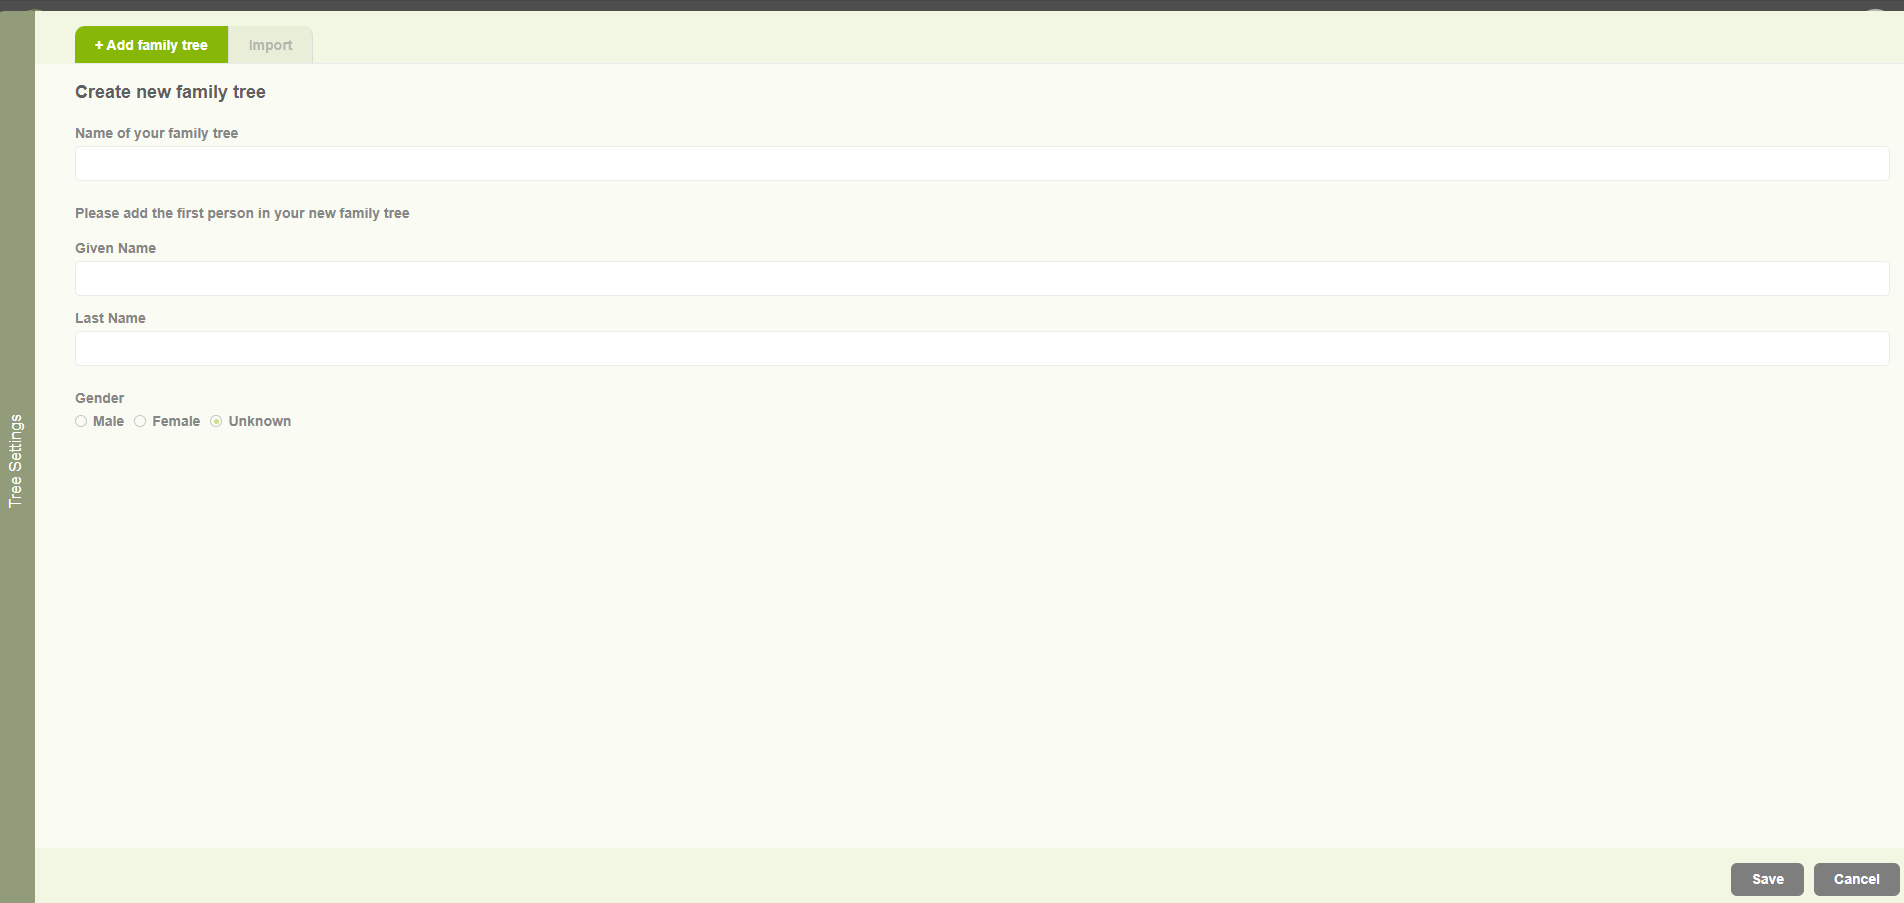
Create family tree for existing user
1. Existing users browse http://embla.no/ from their browsers. Then the user can input their email & password to log into the system account. 2. When the user enters the correct credentials, the user will navigate to the user account page and display the username in the window. 3. Then the user can click on the…
-
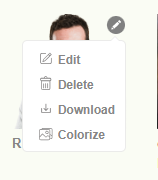
Multimedia options (Edit, Delete, Download)
1. When clicking on the “pencil” icon on the image it will display different options. 2. To edit. 3. To delete 4. To Download the file. 5. And to Colorize the image. 6. When clicking on the edit option, the user will be navigated to the “Add Media” tab with the selected image. 7. When…
-
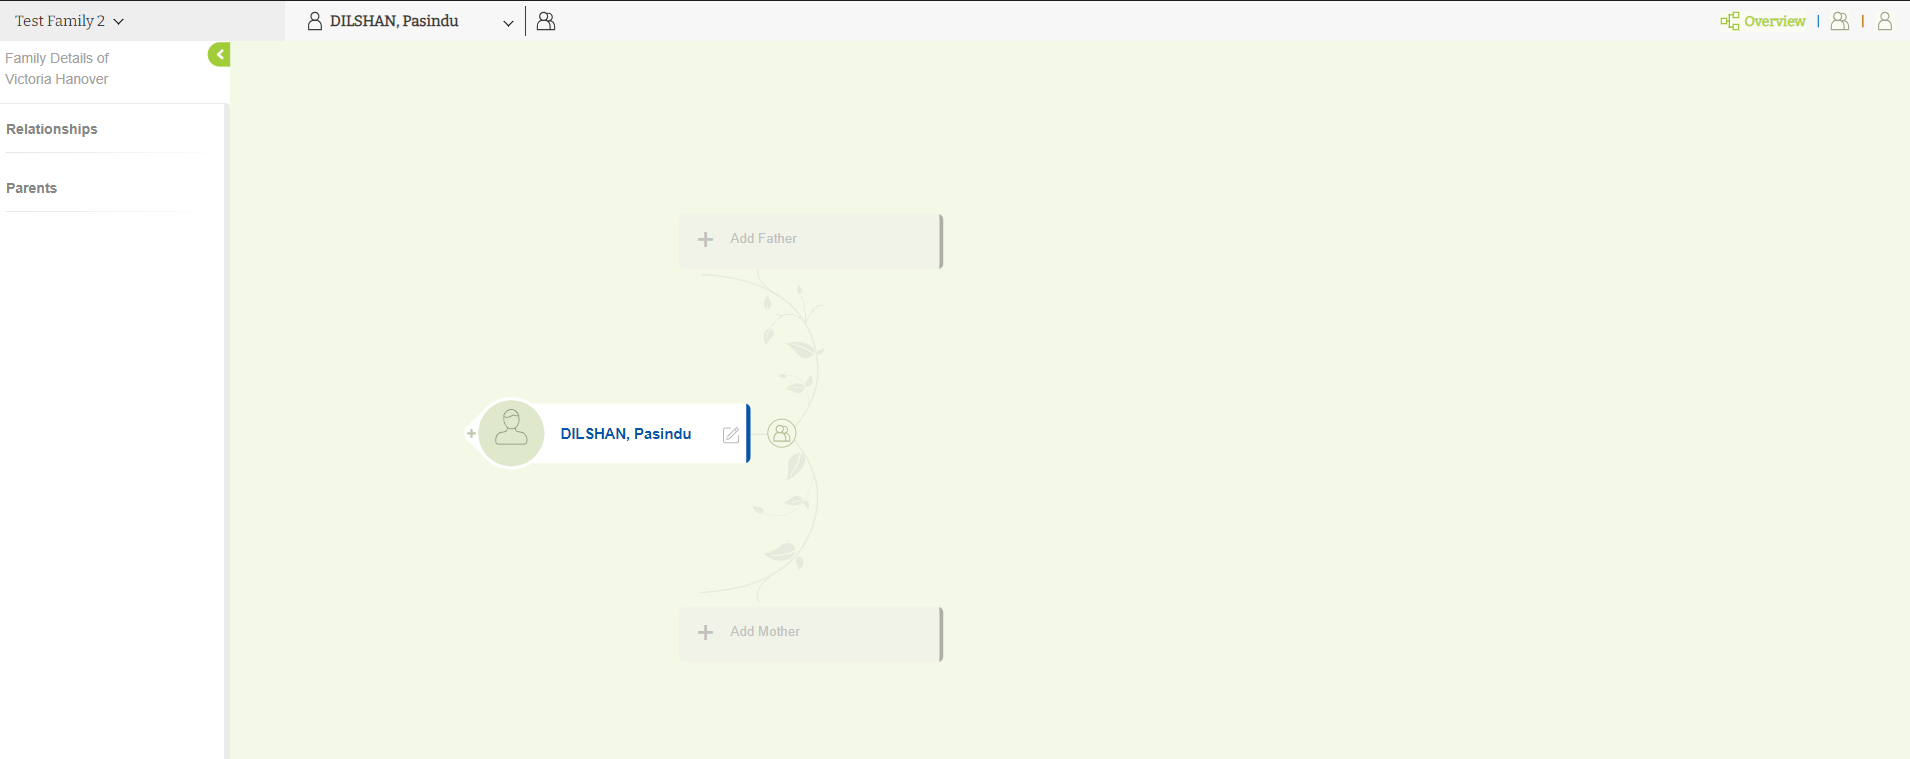
Add parents
1. Users can add parents by clicking on the parents’ nodes in the tree editor. 2. Once the user clicks on one of the parent nodes, a popup will appear to add the parents’ first and last names. 3. Clicking on the save button lets the user proceed. 4. If the user wants to cancel…