Category: Version 10
-
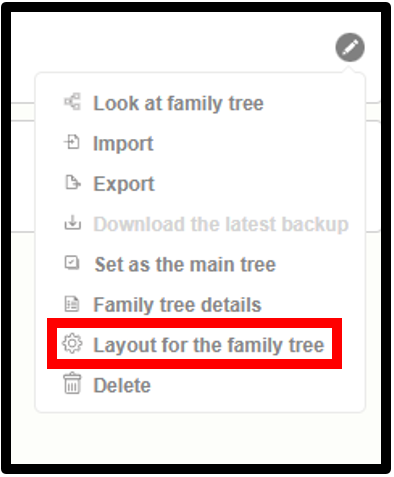
Layout for the Family tree
1. Go to the version 10 web application. 2. Click on the dropdown icon near the Family tree name. 3. Click on the “Manage Family Trees” option. 4. View the list of already created trees 5. Click on the edit icon next to the tree for which the user wants to set up the layout.…
-
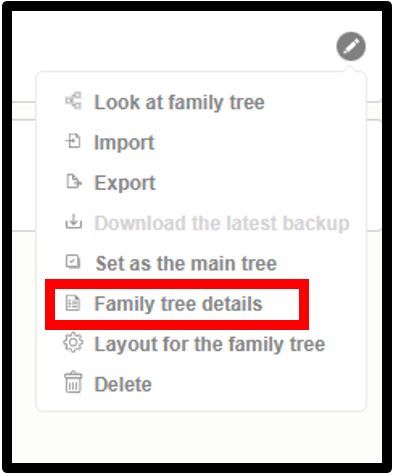
Family Tree Details
1. Go to the version 10 web application. 2. Click on the drop-down icon near the family tree name. 3. Click on the “Manage Family Trees” option. 4. View the list of already created trees 5. Click on the edit icon next to the tree that is to be viewed by the user 6. Select…
-
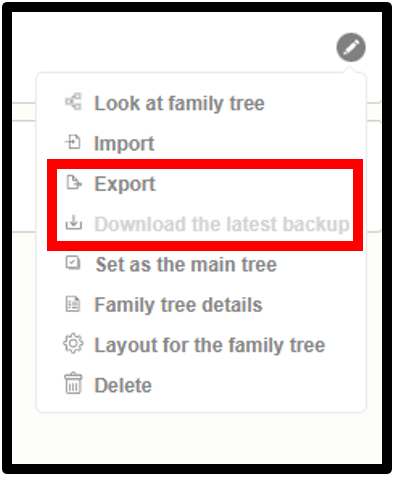
Export Family Tree
1. Go to the version 10 web application. 2. Click on the drop-down icon near the family tree name. 3. Then click ” Manage Family Trees” option. 4. Now the already created tree list can be seen 5. Click on the “edit” icon next to the tree that is to be exported by the user. 6.…
-
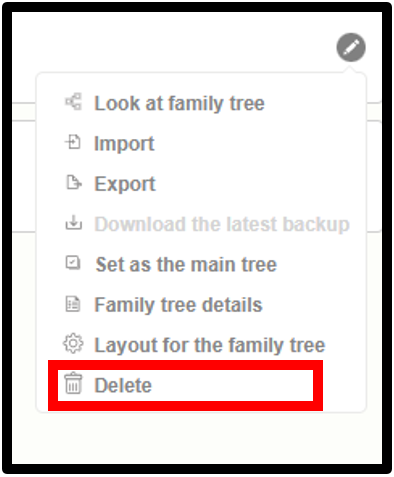
Delete Family Tree
1. Go to the version 10 web application. 2. Click on the drop-down icon near the family tree name. 3. Click on the ‘Manage Family Tree’ link 4. View the list of already created trees. 5. Click on the edit icon next to the tree that is to be deleted by the user. 6. Choose…
-
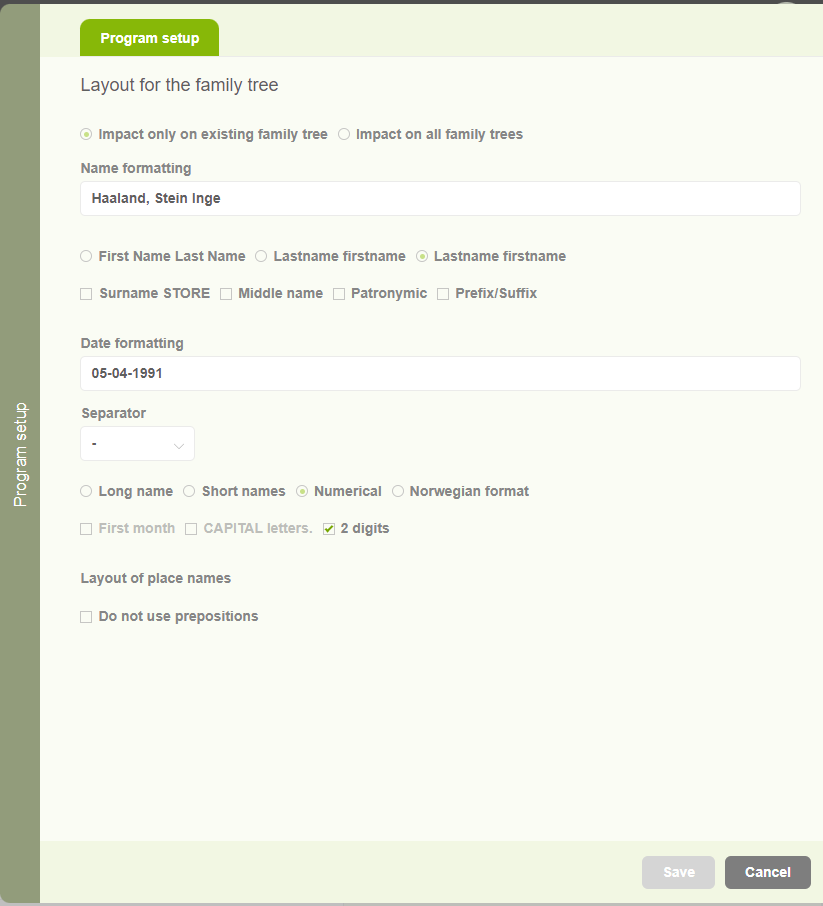
Program Setup
1. Go to the version 10 web application. 2. Click on the user account icon. 3. Then click on the “Program setup” option. 4. Now users can see a side panel with two options. The first option is to apply the settings only for the selected tree, and the other one is to apply the…
-
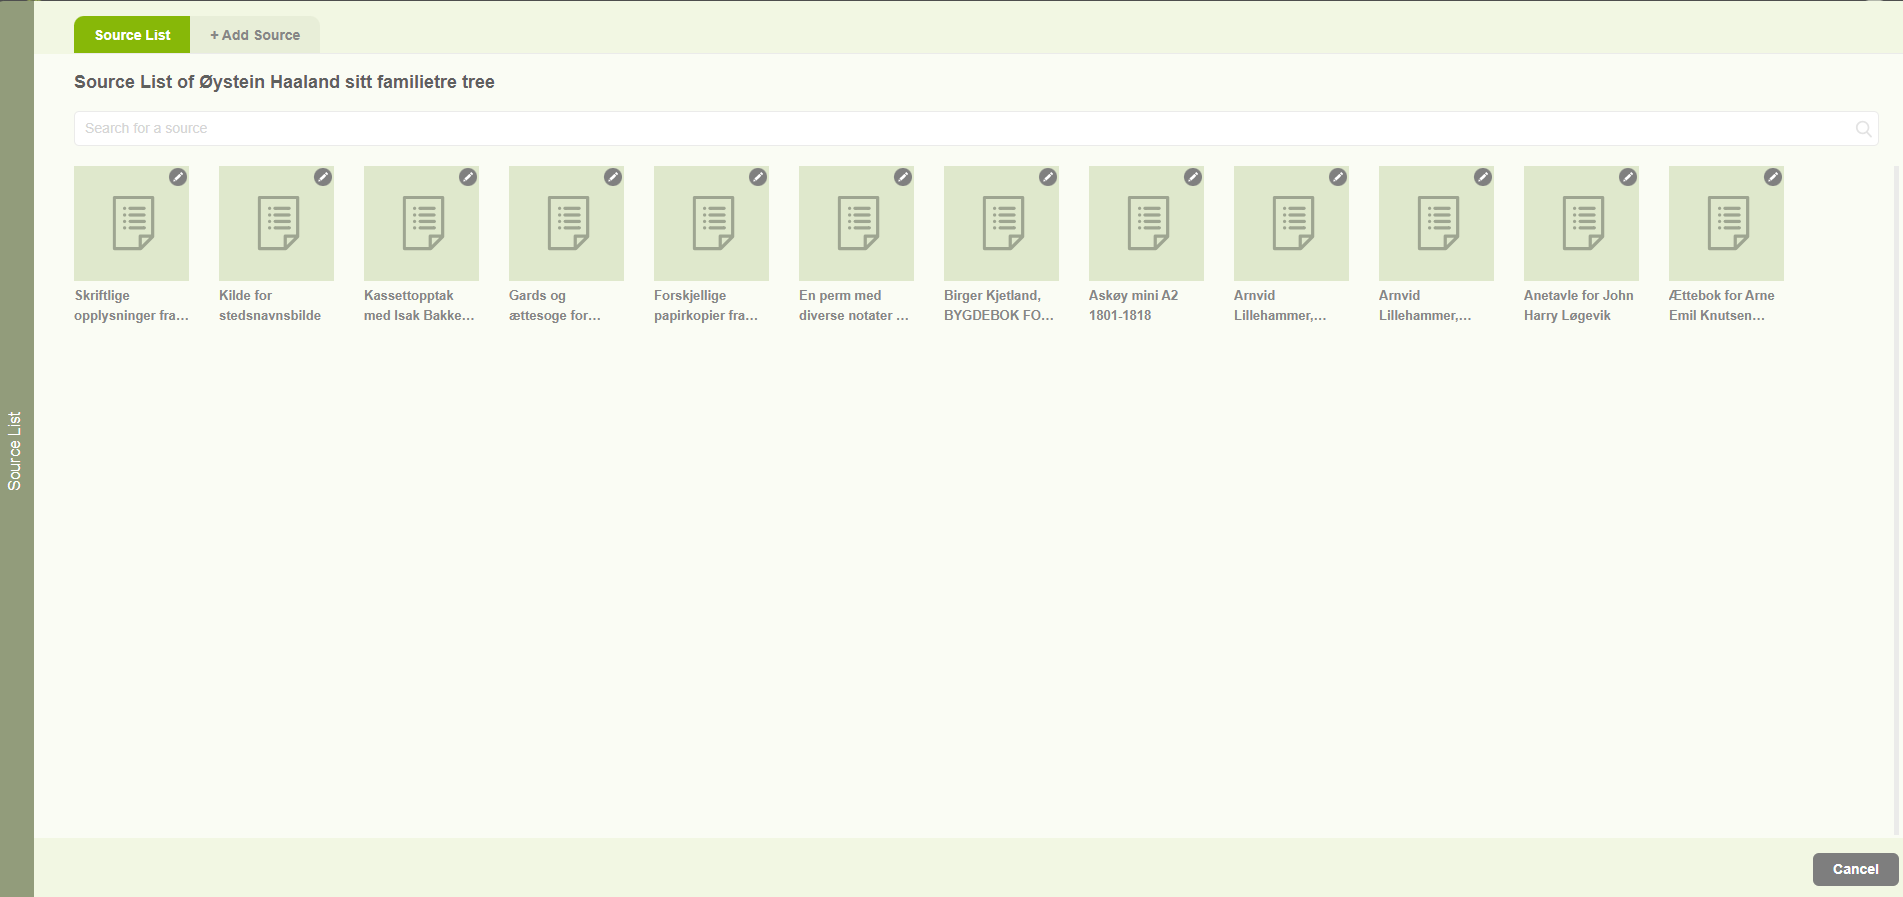
Sources list
1. Users are able to navigate to the Source list by clicking on the “Source List” option in the Resource menu. 2. Then users can view all the sources connected with the family project in the “Source list” tab. 3. Users can search for sources by using the search option. 4. The other tab on…
-
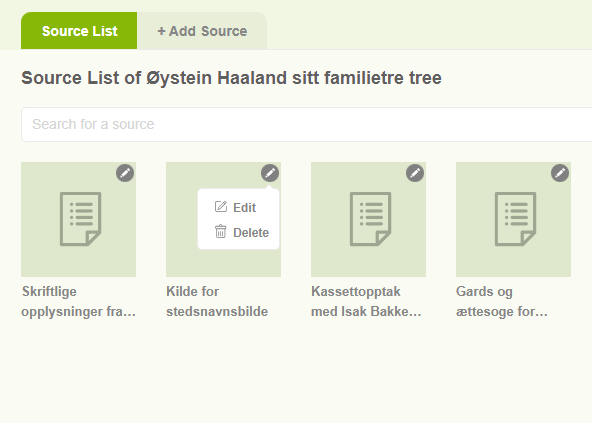
Edit sources
1. Click on the “Resource” tab and choose “Source list” 2. Then it will display the already added sources. 3. Then clicking on the pencil icon of a specific source two options will be displayed. 4. The first one is Edit. 5. The second one is Delete. 6. Users can edit a source by clicking…
-
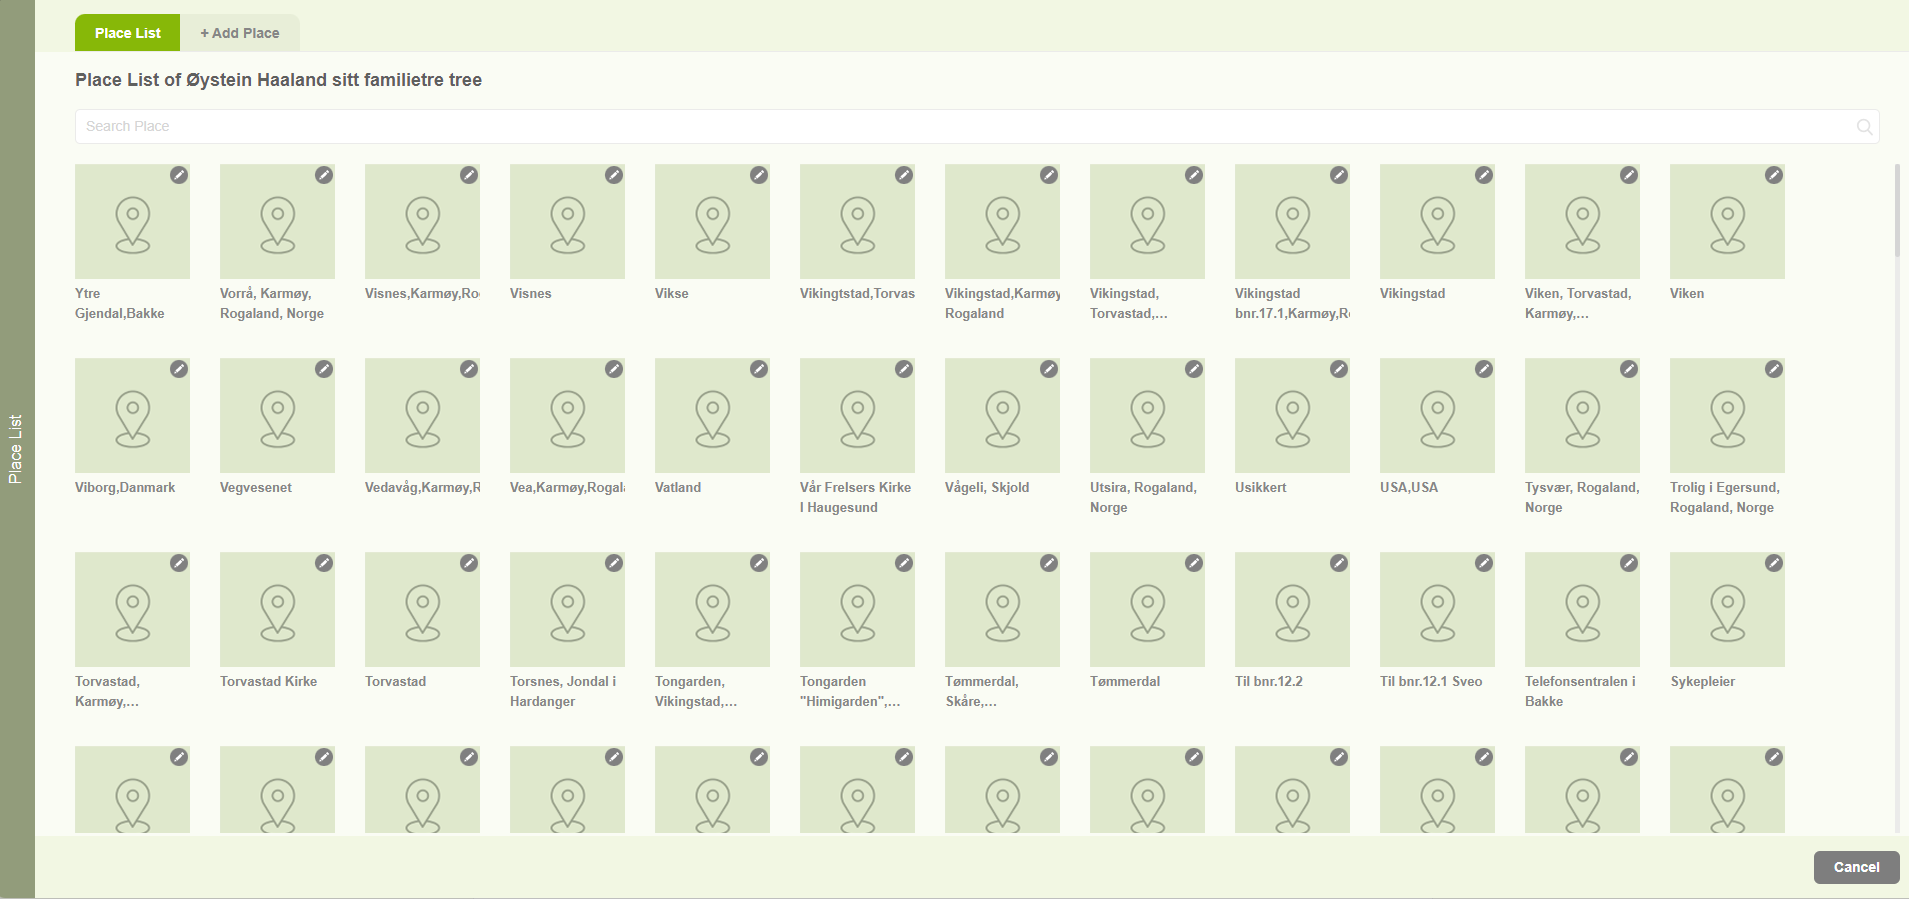
Place editor
1. Users can navigate to the place list by clicking on the “Place Editor” option in the “Resources” menu. 2. Then users can view all the places connected with the family project. 3. Users can search the existing places by the search option. 4. Users can add a new place from the “Add Place” tab.
-

Edit / Delete places
1. When clicking on the pencil icon of a specific location, two options will be displayed. 2. One for editing the location. 3. Another one for Delete the location. 4. Users are able to edit a location by clicking on the “Edit” option. Then the user will be navigated to the “Add Place Name” tab…
-

Member list
1. Users can view the people list by clicking on the “Person List” option from the “Resources” menu. 2. The person list will be opened with all the available members of the family project. 3. Users are able to search for a particular member using the search option available at the top of the page.
-
Editors
Embla Family Treasures provides three editors to create and edit personal details, family details, and family trees (including ascendants and descendants). 1. Users can navigate to editors through the “Resources” menu option 2. Tree editor – Users can create their family tree by adding ancestors and descendants 3. Member editor – Users can edit a…
-

Image colorization
1. Click on the “Resources” tab. 2. Then select “Multimedia List” on that list. 3. Clicking on the pencil icon on the image that the user wants to colorize. 4. Then click on the “Colorize” option. 5. When clicking on the “Colorize” option, the user will be navigated to the colorize tab with the selected…
-

Publish fan chart
Users can publish the fan chart report using the “publisher” option. 1. Click on the publisher icon 2. Then a popup will display to add a report title and to select the template type. 3. There are two types of report templates a. Normal (without top and bottom) …
-

Report controllers
In the report engine, there is a function bar in the left corner and it includes the below functionalities. a. Zoom in option b. Zoom out option c. Center option d. Zoom for a extended e. Change color f. Publisher g. Settings Change Color (e) Users can change the fan chart colors with different…
-
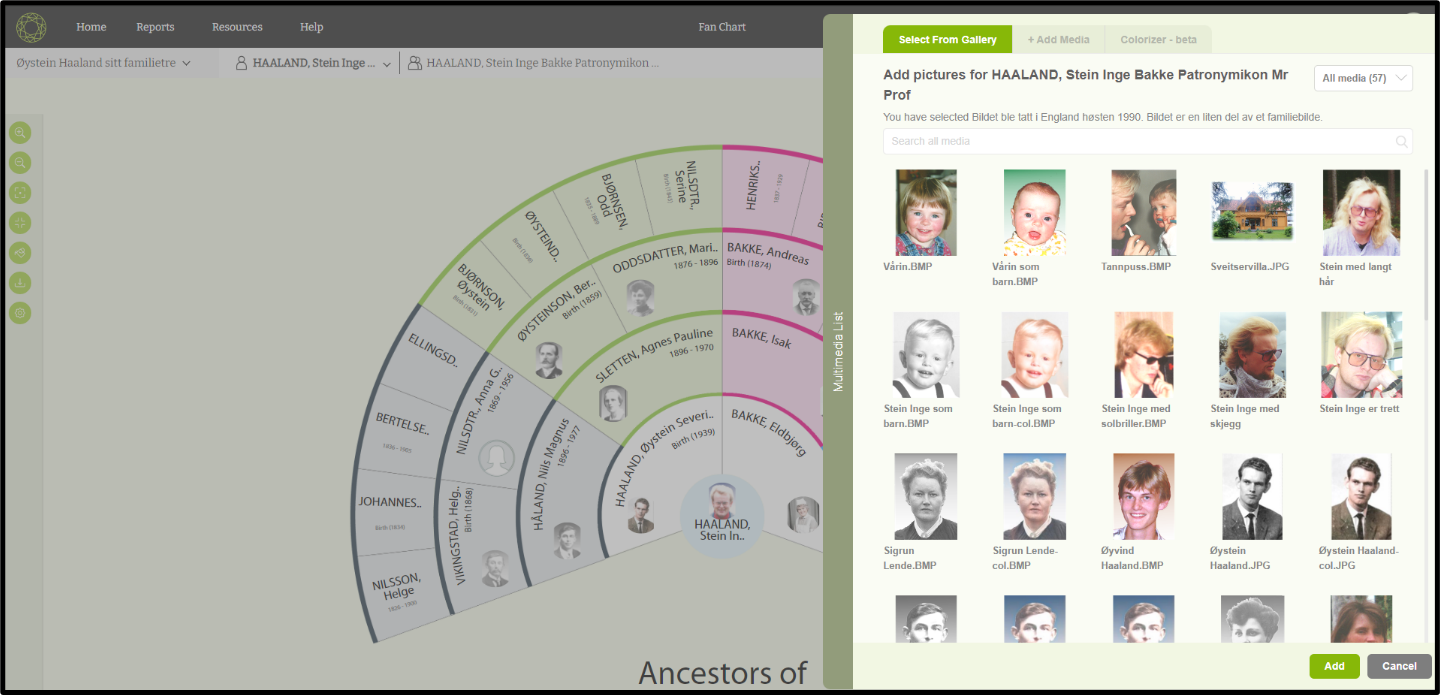
Change the profile image
Users can change a profile image through the ‘Fan chart’ page. 1. Click on the profile image of a member that needs to be changed. 2. Then a popup will open with available images. 3. Then the user can select an image that needs to be reset. 4. After selecting the image click on the…
-
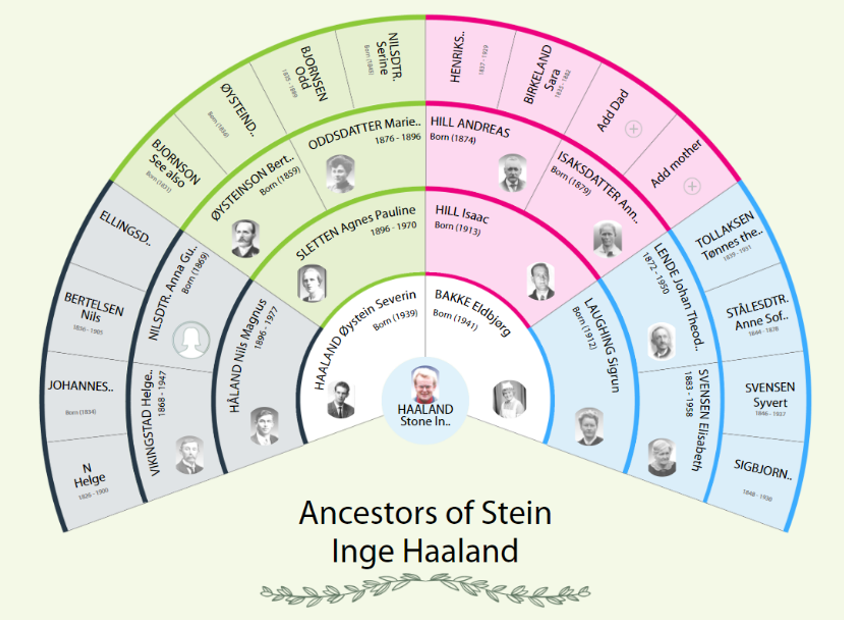
Fan Chart
Fan chart report is an artistic way of representing the ancestors of the root person as a ‘Fan’. 1. First the user needs to click on the ”Report” link and select the “Fan Chart”. 2. Then the user will be redirected to the fan chart report page. 3. The user can view the name of…
-
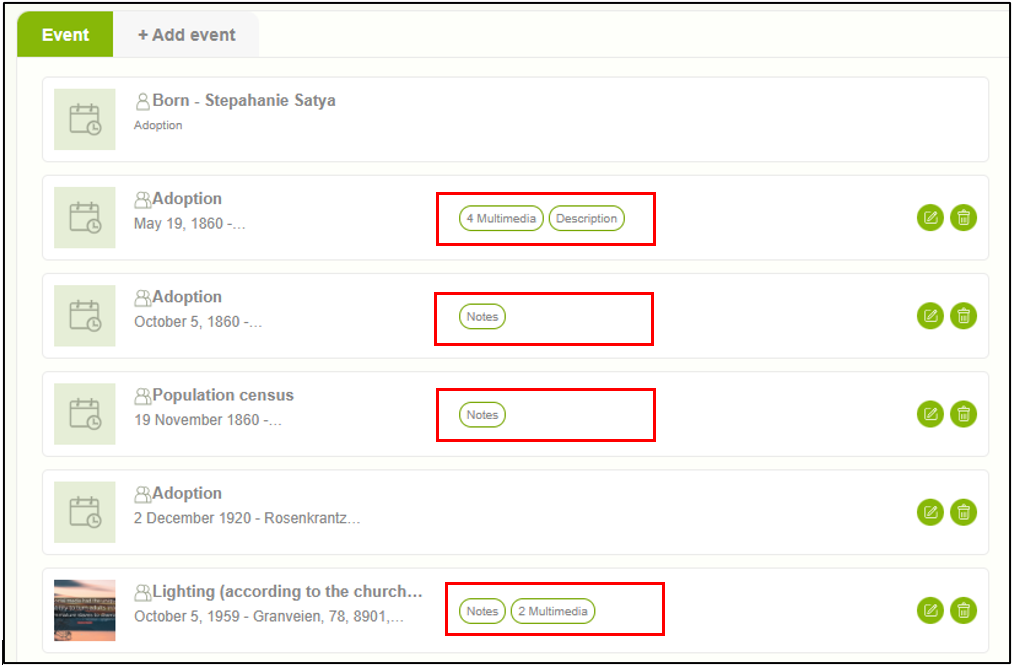
View multimedia and sources
1. Users can view the attached multimedia and sources by clicking over the number of sources and multimedia sections against each event. 2. When clicking on each, the user can view a summary of multimedia and sources. If there is more than one item, the user can move to the next using the next arrow…
-
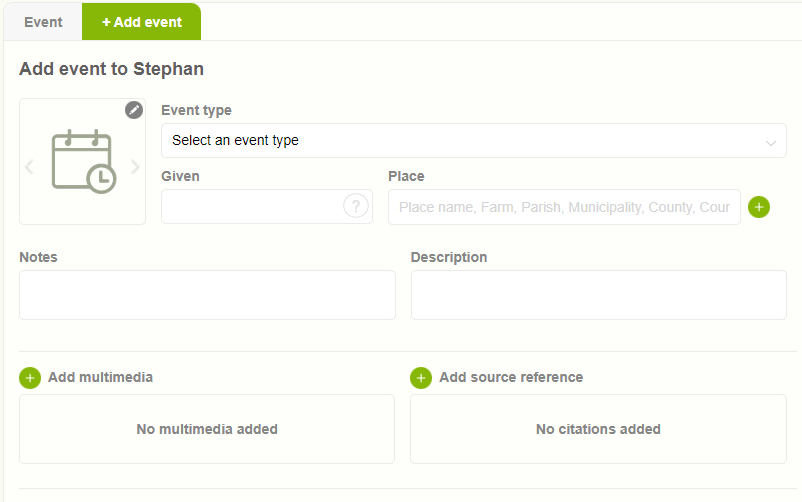
Events overview
1. Any action undertaken by an individual throughout their life can be categorized as an event. Within version 10 (v10), users can conveniently add events through the designated “Event” tab, whether personal or family-related occurrences. 2. Previously added events are readily accessible and displayed within the “event” tab for easy reference and review.
-
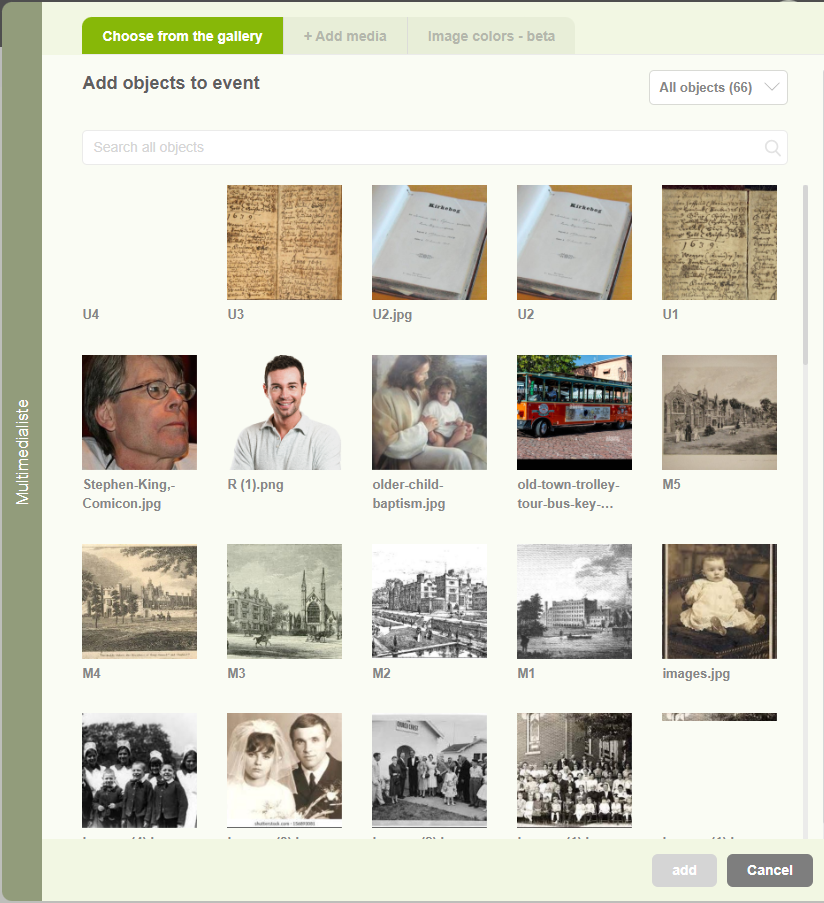
Enhance events with multimedia content
1. Users can add multimedia content by selecting the “Add” button (+). 2. Upon clicking the “Add Multimedia” button, a pop-up window will appear presenting two tabs. The first tab, titled “Choose from Gallery,” allows users to browse existing media files and select one. 3. The second tab, labeled “+ Add media,” enables users to…
-
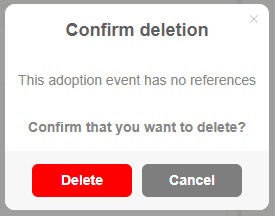
Delete events
1. Users can delete events by clicking the delete icon associated with each event entry. 2. Upon clicking the delete icon, a confirmation message will be displayed, prompting the user to confirm their action. Subsequently, the user can proceed by clicking on the “Delete” button to permanently remove the event.