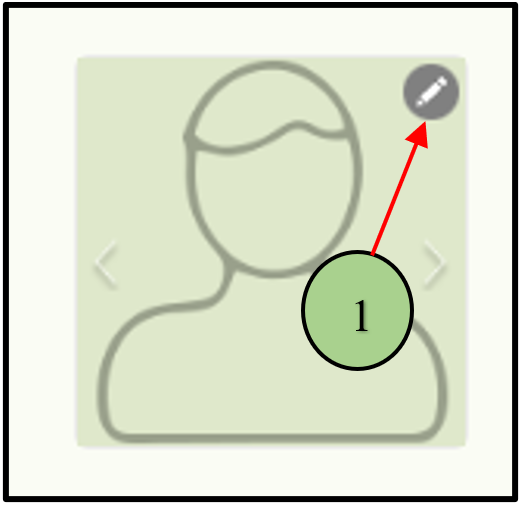
1. Users can manage profile images using different options in the image edit feature. Click on the Pencil icon.
2. Initially, users can upload a new image by clicking “Upload” The user can upload images from a local machine.

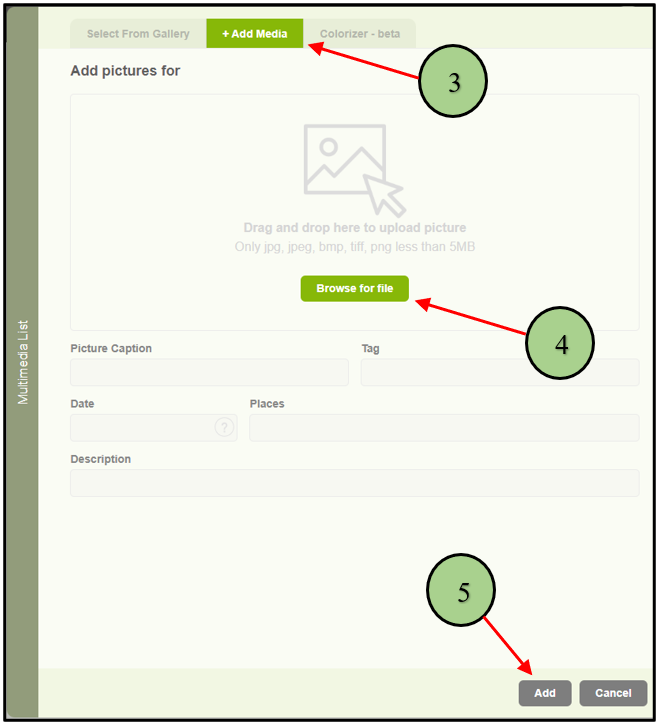
3. If the user is going to upload an image from a local machine, the “Add media” popup will be opened to choose the image.
4. Then the user can click the “browse” button and select the image.
5. After that click the “Add” button to save the image as the selected person’s profile image.
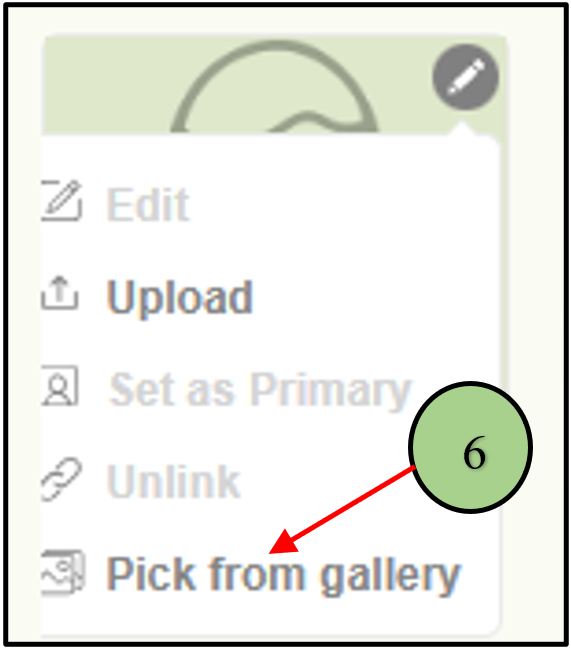
6. If the user wants to insert an image from the application gallery, the user can click the “Pick from gallery” button.
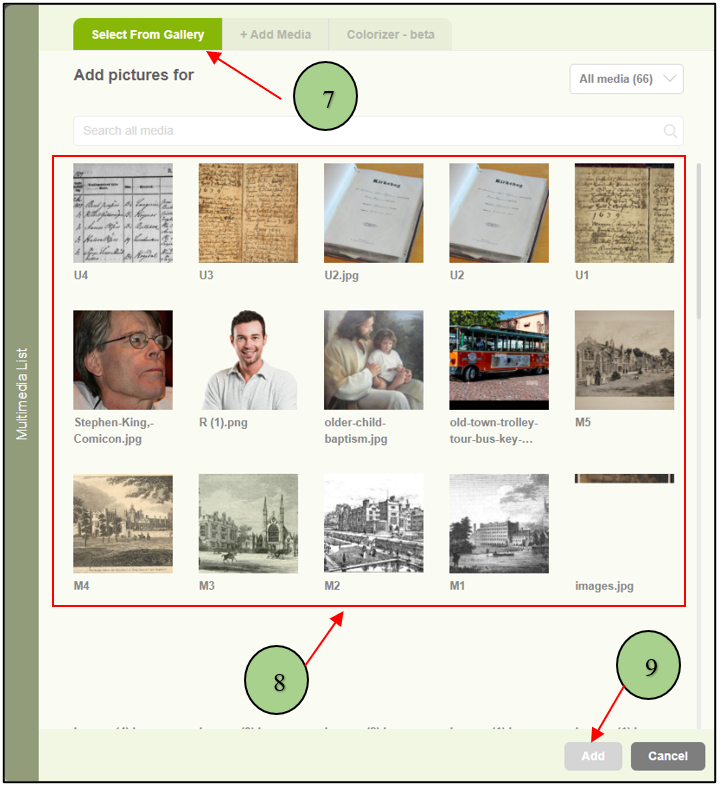
7. If the user clicks pick an image from the gallery, a popup will be opened.
8. From that popup user can select an existing image.
9. Then click the “Add” button to save the image as the selected person’s profile image.
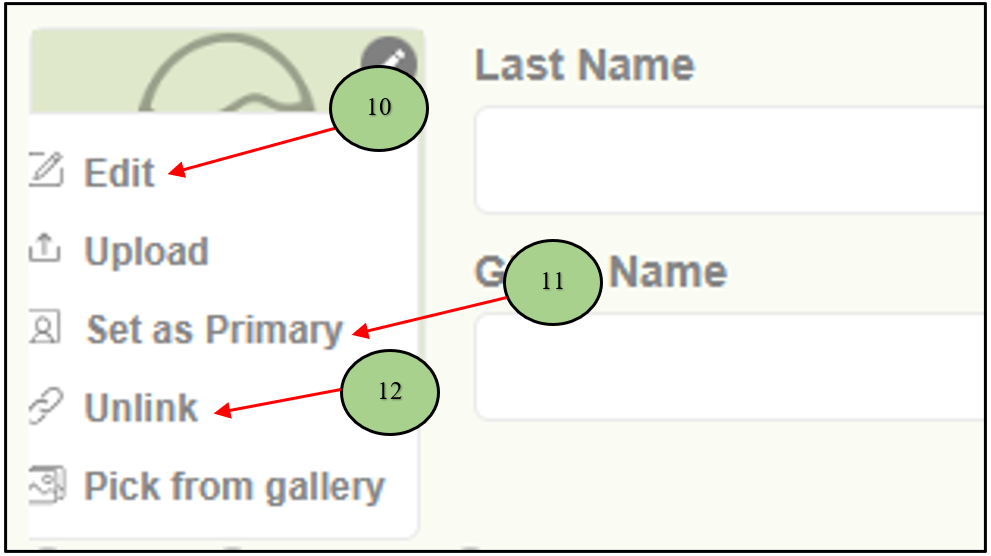
Once the image is uploaded, the user can see different options to manage the profile image.
10. Edit
11. Set the image as the primary image
12. Unlink
Leave a Reply