1. Go to the version 10 web application.
2. Click on the drop-down icon near the family tree name.

3. Then click “Manage Family Trees” option.

4. View the list of already created trees.

5. Click on the edit icon next to the family tree for which the user wants to view details.
6. Click on the “Set as the main tree” option.

7. Then it will initiate the change to set the selected tree as the main tree. Wait for the process to complete, indicated by a green checkmark.

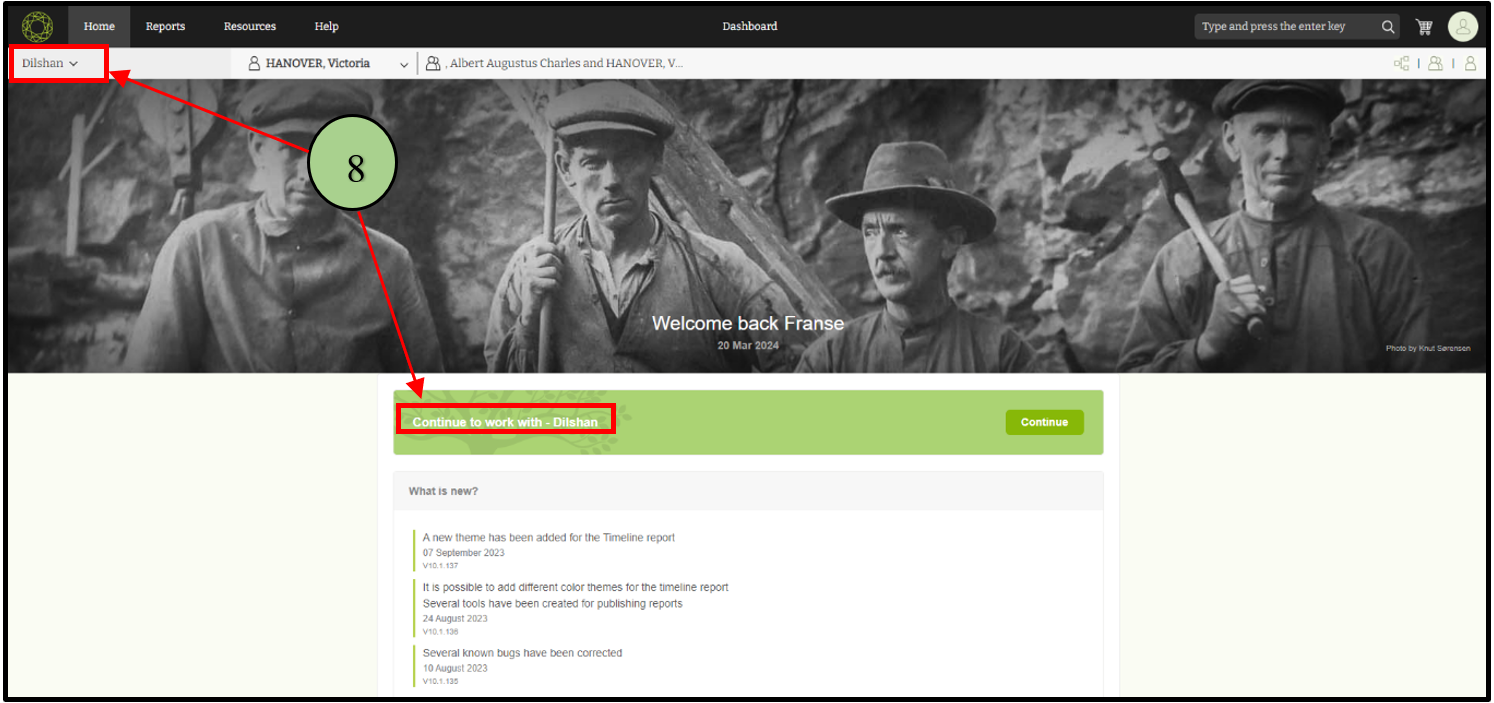
8. Upon completion, the selected account will be displayed as the main tree in that user account.
Leave a Reply