1. Go to the version 10 web application.
2. Click on the user account icon.
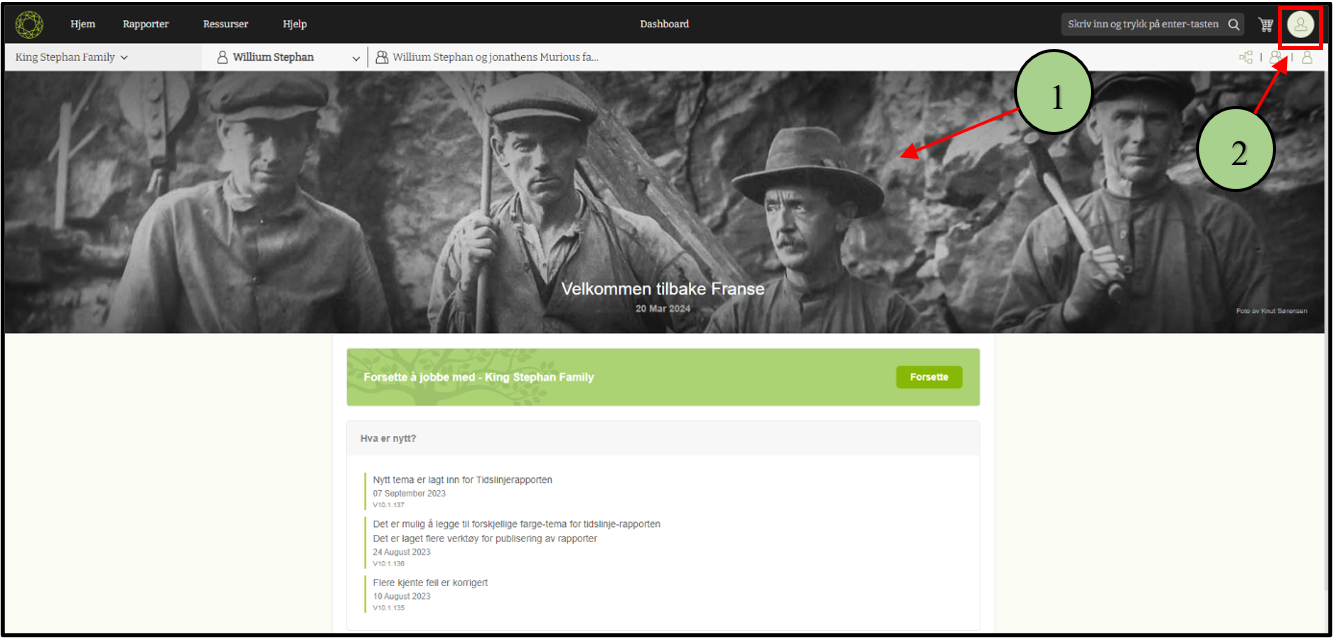
3. Then click on the “Program setup” option.

4. Now users can see a side panel with two options. The first option is to apply the settings only for the selected tree, and the other one is to apply the settings for all the trees within that user account
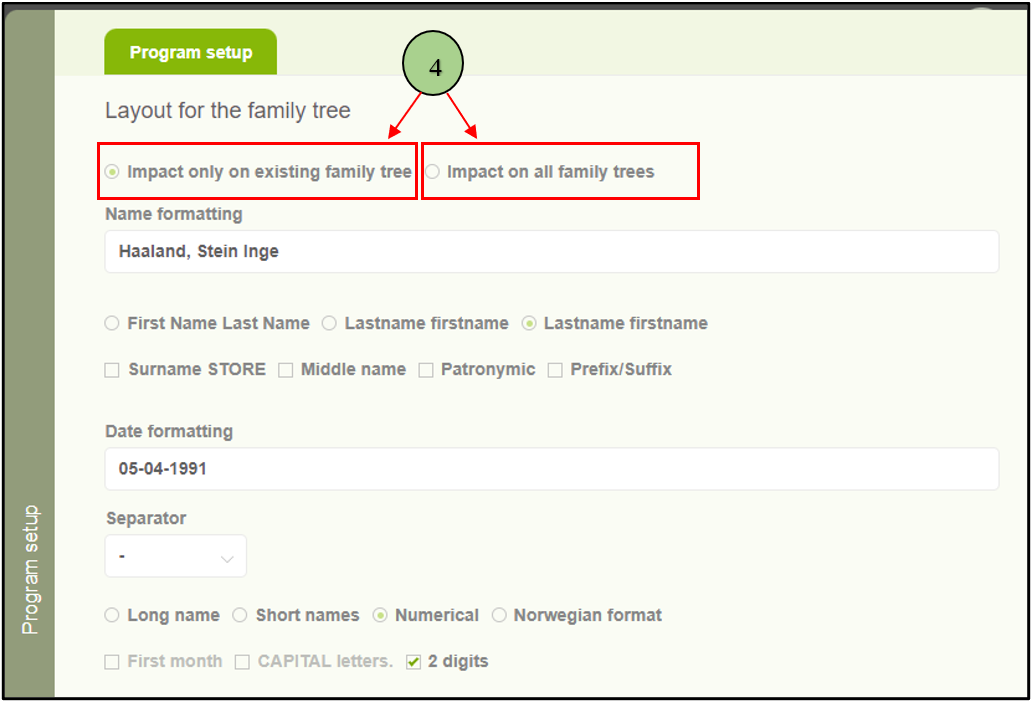
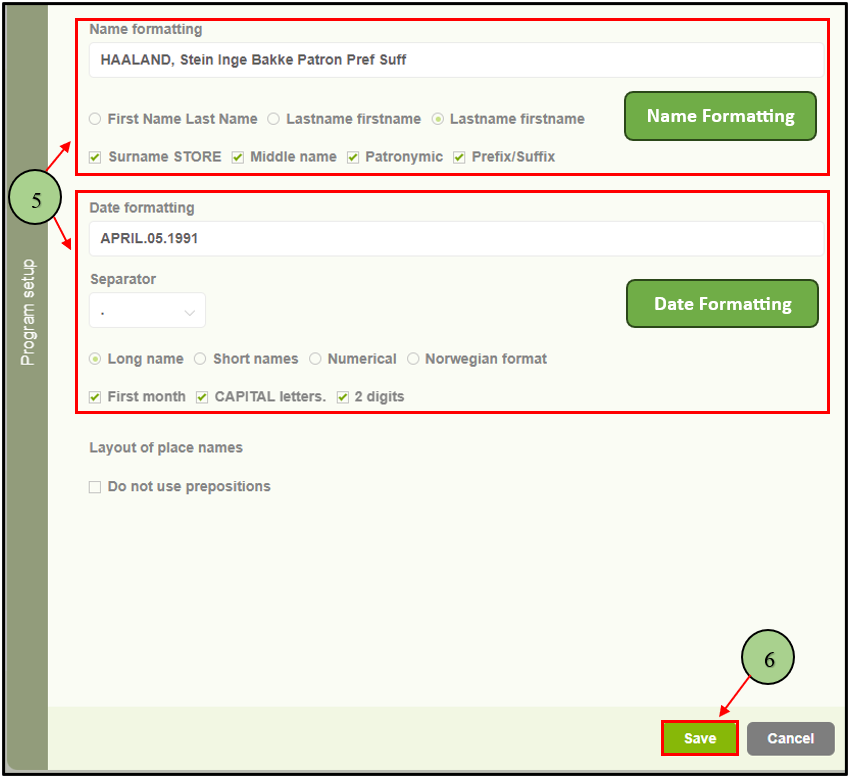
5. After selecting an option, users can customize the formatting for displaying names and dates according to their preferences. When the user alters the name formats, the formatting text box will display how the names will appear in the system, allowing the user to preview the changes.
6. Then click the “Save” button.
Leave a Reply